RAM test
Hello, friends! Faulty RAM can cause your computer to become unstable and result in data loss. A sign is unexpected reboots or a blue screen of death. When diagnosing a desktop computer or laptop, first of all, RAM is checked. You don't need to open your computer to do this. It is enough to boot from a disk or from a flash drive (from a memory card at worst)) and produce RAM test. Windows 7 and Windows 8 include a built-in memory test utility. You just need to run it and schedule the test to run either immediately or at the next boot.
In this article, we will understand in detail how to test RAM
As mentioned above, the Windows 7 and Windows 8 operating systems have a built-in memory test utility. This is convenient because it is always at hand and there is no need for third-party programs.
To start, go to Control Panel > System and Security > Administrative Tools. Select
It is also convenient to use the search from the Start menu
A window will open with information - What memory problems can cause
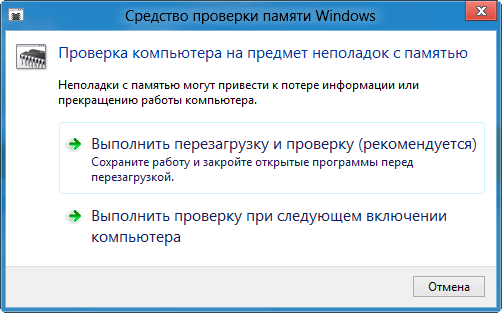
You have 3 options to choose from: Reboot and Test, Run a Test the next time you turn on your computer, or click Cancel.
When you select the first item, the system will immediately reboot and execute RAM test. You must close all open applications before making a selection.
If you select the second option, the scan will start the next time you turn on your computer. You can try to finish the unfinished work and reboot.
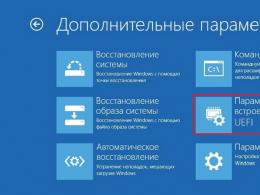
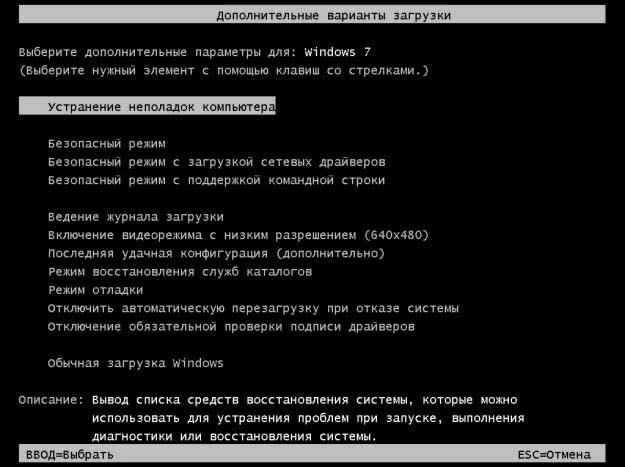
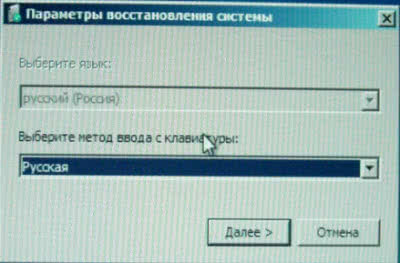
You can also run a RAM test when loading Windows 7/8 by pressing the key F8 and choosing Troubleshooting your computer
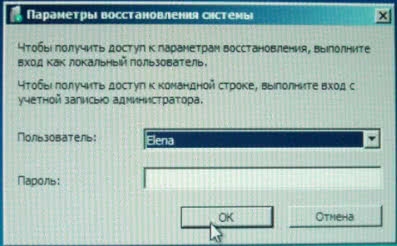
Select a user and click OK
Choose
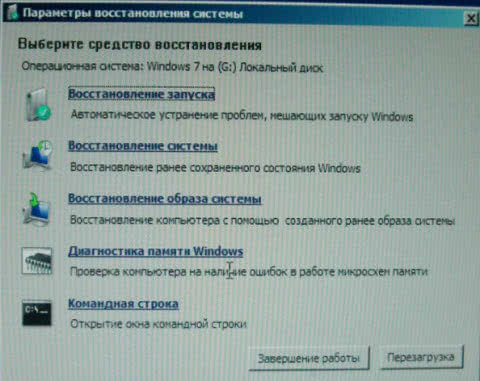
The same window opens as from under Windows. Click the recommended first item
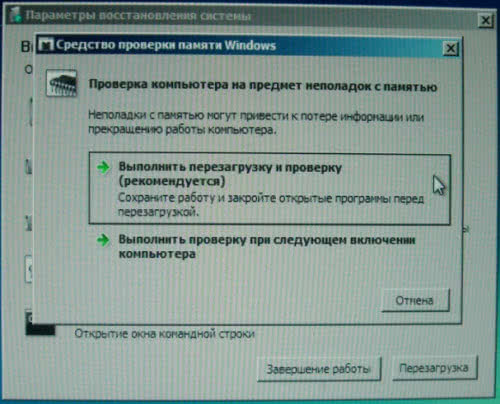
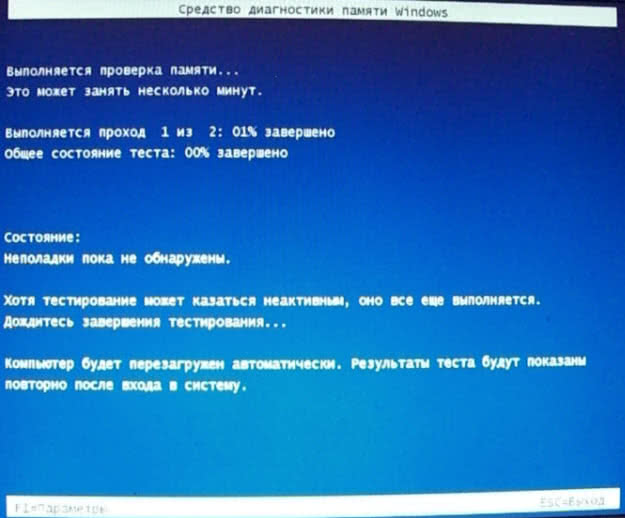
The system will reboot and start testing the RAM
To select test parameters, press F1

We can choose a test suite:
- Base
- Usual
- Wide
Basic includes 3 tests used for quick checks. Normal includes additional tests and runs by default. Extended includes all possible tests prepared by Microsoft and is naturally the longest in time.
The usual test of RAM is enough to identify problems.
By pressing the key Tab you will move to the next control option - Memory Cache. Disabling which will lead to direct access to RAM, which will allow for more accurate testing.
When you next press the key Tab it will switch to the last option for selecting the number of repetitions of the RAM test. Used for a more thorough check and allows you to set from 1 to 0 (infinity) passes.
To apply the settings and continue the test, press the key F10
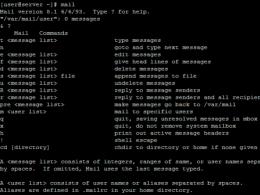
If you are only going to install Windows 7 from a disk image, then you can also test the RAM. For this it is necessary.
Press any key
Tab key to select Windows Memory Diagnostic
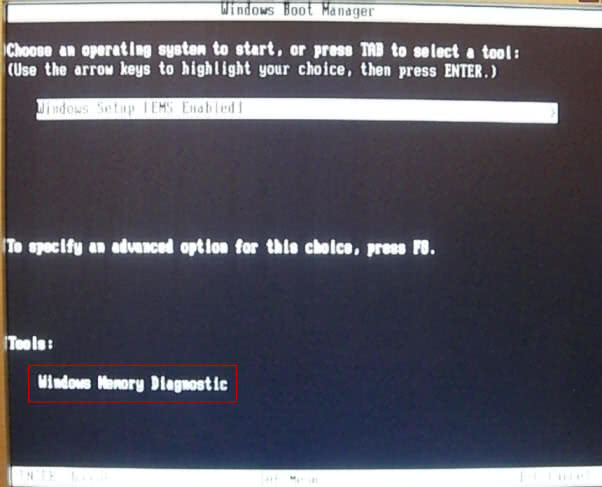
The RAM test will start, but already in English
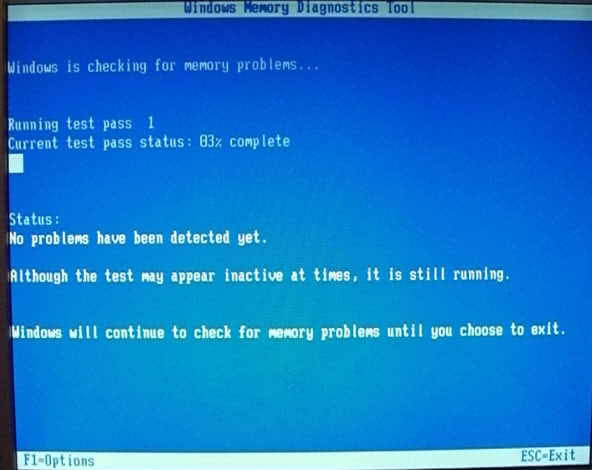
In the Status field, an inspiring inscription is displayed - "No errors have yet been found")
If there are any, it will be written about immediately. Also, the results will be displayed again when the operating system is loaded, if the test was launched from Windows.
Memtest86+ is the most popular RAM test
The second, but no less effective, tool for checking RAM is the Memtest86 + program. At the time of writing, the current version is 4.20
You can download this utility from the official site. The archive in *.zip format is downloaded and is intended for installation on a USB flash drive
You can also download the image for burning to disk from the official site. How to burn an image to disk can be found in this article.
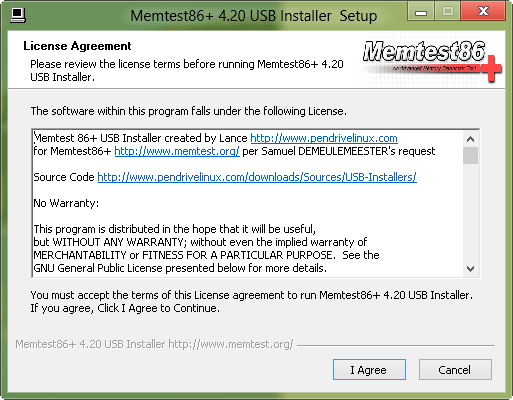
Let's write the program to a flash drive. To do this, unpack the downloaded archive. For those who have difficulties with this, please see the article How to open a rar file. We connect the USB flash drive to the computer and run the unpacked program Memtest86 + USB Installer.exe
Click I Agree(I agree to the license agreement)
Select the connected USB flash drive and set the recommended "bird"
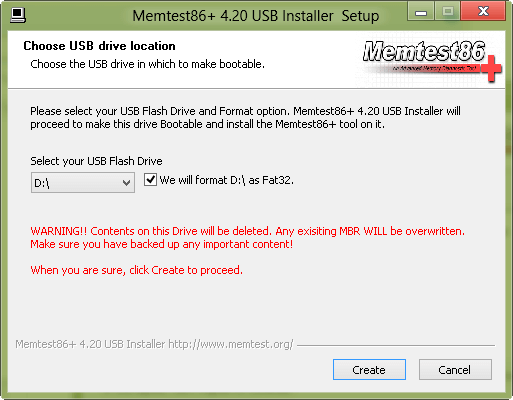
Copy all important data from the USB drive and press Create(Create)
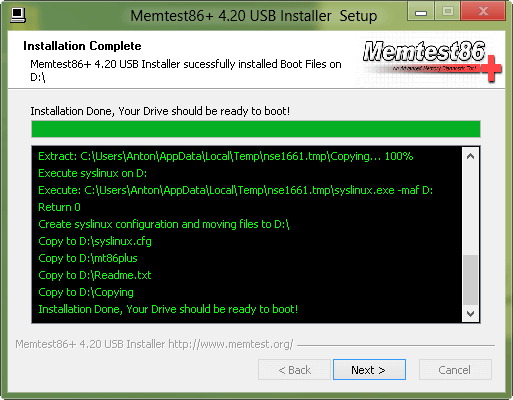
Then press Next
AND Finish
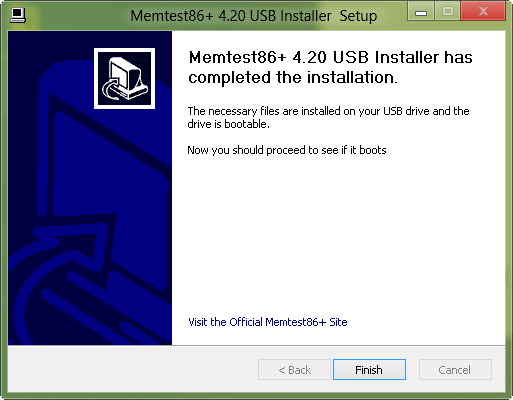
The bootable USB drive is ready.
You can also go into the BIOS and select Boot Menu (F8). Or, press F8 immediately upon boot, and it is possible to get into the menu for selecting boot options. You must select our flash drive

When booting from a prepared flash drive, a RAM test will immediately begin
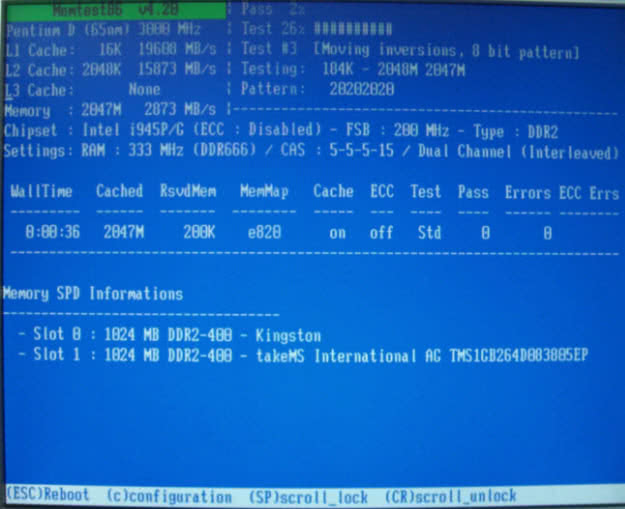
In addition to monitoring the test, you can see:
- processor and processor cache information
- maximum amount of RAM and its speed
- information about the chipset and memory parameters
- settings of the RAM itself (frequency, delays and whether dual-channel mode works)
There is also a table where in the first column you can follow the duration of testing. If all tests are successfully passed, instead of 0, 1 will appear in the Pass column and the inscription will be displayed below
*****Pass complete, no errors, press Esc to exit*****
Click ESC and perform a normal boot of the operating system.
If errors are found during the memory test, a red table will be displayed with the addresses of the detected problems, while the test will continue.
What to do if problems are found?
We turn off the computer, take out the RAM and wipe the contacts with an ordinary rubber band. The one we used in school. It is also recommended to blow out the memory slots in the motherboard.
Carefully! If you have memory modules without heatsinks, don't hold on to the memory chips! It is possible to deform the contact of the chip with the textolite. (Memory chips are black squares or rectangles on colored textolite)
Blow off the remaining rubber on the memory modules and install them in the motherboard.
Repeat test
If errors appear again, take the modules to a service center under warranty.
If not under warranty, check each module individually to determine the bad bar and replace it. (Do not forget that the memory module connector may be faulty. If the memory bar test fails in one connector, check it in another)
If you have a set of 2 or 4 memory sticks, it is recommended to change the whole set.
For more information about memory, see How can I increase my computer's RAM?
Conclusion
In this article, we figured out how to RAM test.
It is convenient to carry out diagnostics of memory modules using the built-in Windows Memory Checker utility, as well as using the special Memtest86+ program. We learned how to prepare a USB flash drive and burn the image with the program to disk.
And most importantly! Provided steps to take if memory problems are detected.
Video - RAM test
Questions and suggestions will be glad to see in the comments. I wish you serviceable and reliable memory modules.