Restoring dead pixels
Free space began to appear on the desktop), the radiation background decreased noticeably and everyone breathed a sigh of relief. However, liquid crystal monitors, in addition to huge positive aspects (diagonal 21″ and more, absolutely flat screen, the possibility of widescreen execution), can also have “negative” points, called defective pixels. What it is and how you can try to restore these points will be discussed below.
In a modern LCD monitor, the image is built from dots called pixels. The word "pixel" itself came from an abbreviation - pix element or picture cell.
The number of pixels is determined by the resolution of the monitor. For instance:
1920 x 1080 = 2,073,600 pixels
Each pixel consists of 3 subpixels: red (R ed), green (Green) and blue (Blue). Hence the abbreviation R G B.
To assign a specific color to a pixel, you must specify the brightness values of 3 subpixels. Each value is indicated by 2 digits in hexadecimal format (00 is the minimum brightness, FF is the maximum brightness). For example: black is 00 00 00, white is FF FF FF, red is FF 00 00, etc.
There are two types of "broken pixels": "dead" - which have little chance of being restored (they burn constantly white or have a black color) and "stuck" - which burn in a certain color. These are worth restoring.
Before “healing” dead pixels, it is necessary to determine exactly where they are. For this, the AIDA64 program or any other program with a test for monitors is suitable. Download, install. The "trial" version is also suitable for us.
The program below is also perfect.
Let's show on the example of AIDA64
Launch and open the "Service" menu. Select "Monitor Diagnostics"
The following window will open
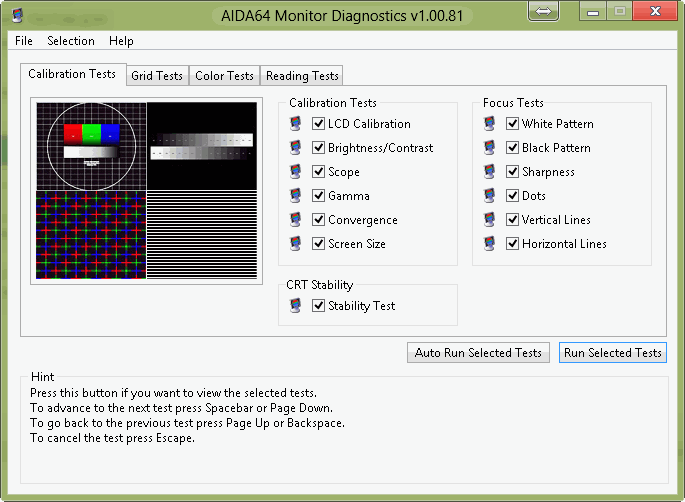
If you know what tests you need, leave the birds only on them, if you don’t know, leave everything as it is and run the test by clicking the “Run Selected Tests” button. Next, with a space, change the images on the screen and look for these same dead pixels.
They are especially noticeable when viewing a picture of a completely flooded screen in a certain color. (My former boss used to search for dead pixels magnifying glass)
Why is it sometimes not possible to return the monitor under warranty ?.
All monitors are divided into classes.
- 1 - in which there are no dead pixels and, if any, a warranty replacement is carried out
- 2 - allows a certain number (up to 7) of dead pixels (depending on the diagonal of the monitor)
- 3 - up to 70
The most common is the 2nd class. This characteristic should be indicated in the specification for the monitor. If not specified, a 1st class monitor.
Therefore, if your number of dead pixels does not exceed the allowable in its class, the probability of replacing the product is very low.
We decided on the location, we are trying to restore it.
Bad Crystal - restoration and prevention of a broken pixel
Let's start with software recovery methods. They are safe, i.e. should not make the situation worse.
All software methods use a quick color change in the "sick" area. The probability of returning dead pixels in working condition, more than 50%.
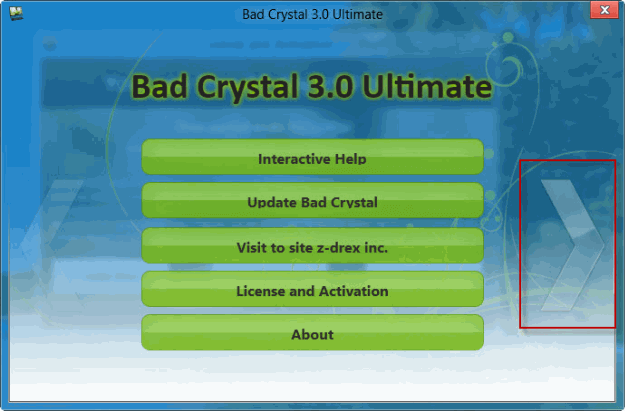
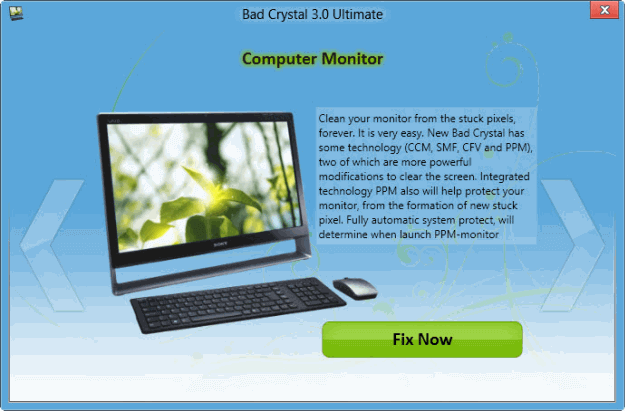
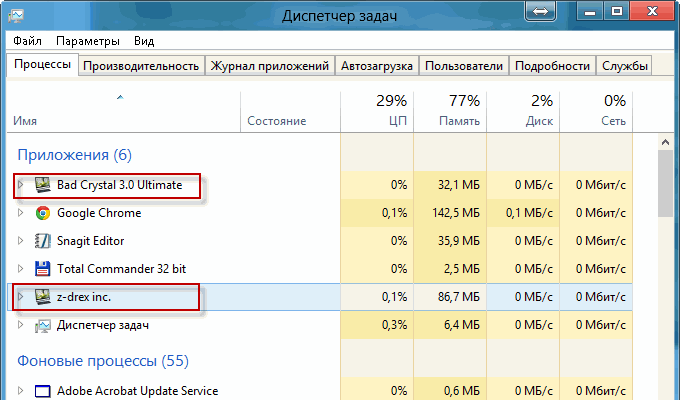
Bad Crystal is a paid program. The demo version has a pretty good tool. We will use them.
Download, install and run the program. Click on the red circled arrow
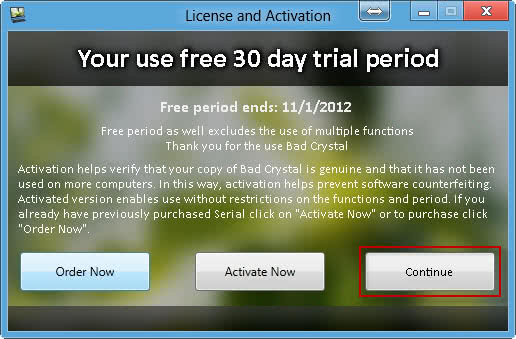
In the opened window with Activation, click "Continue" (Continue)
If you want to restore dead pixels on the screen of your phone, TV or game console, click the same arrow and select your product. We will focus on the monitor for the computer. Click "Fix Now"
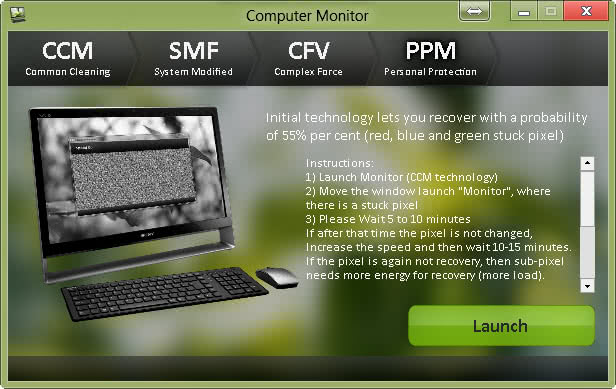
In the trial version of the program, it is possible to use only the CCM mode with an efficiency of more than 55%. In the activated version, more efficient SMF and CFV modes are available with a recovery rate of up to 80%. PPM mode is a prophylactic mode. It is necessary to run a couple of times a month in case of successful restoration of a broken pixel to life.
Select CCM mode and click "Launch"
We point the opened window at the dead pixel and wait 10 minutes. We check. If nothing has changed, increase the speed (press Speed Up) and leave it in the “sore” place for 20 minutes.
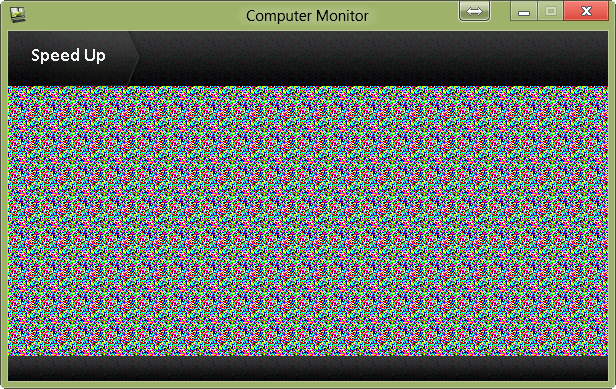
We check. Increase the speed to maximum and leave for 30 minutes. If it doesn't help, leave it overnight. If this does not help, we turn to physical methods.
If dead pixel came to life, then the program developer recommends prophylaxis (PPM mode) 2 times a month.
Select PPM mode. In the window that opens, click "Manual Mode" and minimize all windows
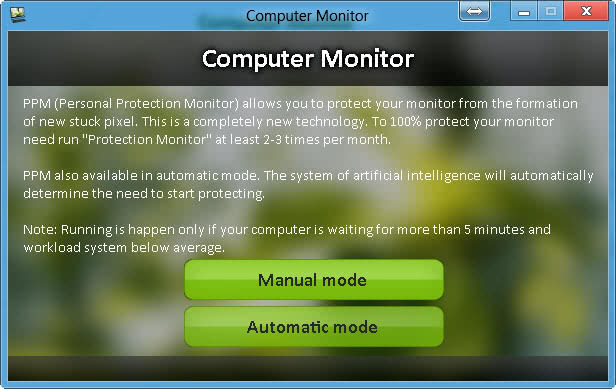
The screen is “massaged” with different colors. Wait for completion and close the program. If the program does not close, use the task manager and remove the selected tasks
For prevention, you can also use the following video on which the “massage” is recorded.
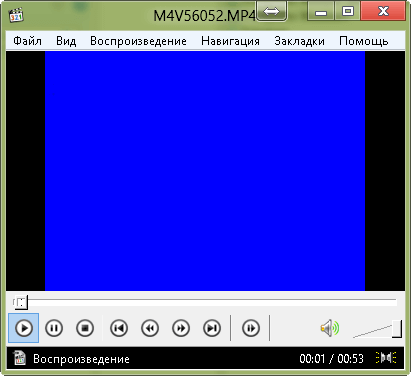
You need to download, unpack, run and point to the cured place.
- Prof.zip (227 KB)
UDPixel is a free dead pixel repair tool.
This software product is free and allows you to work almost comfortably at your computer when performing recovery.
Download, install and run
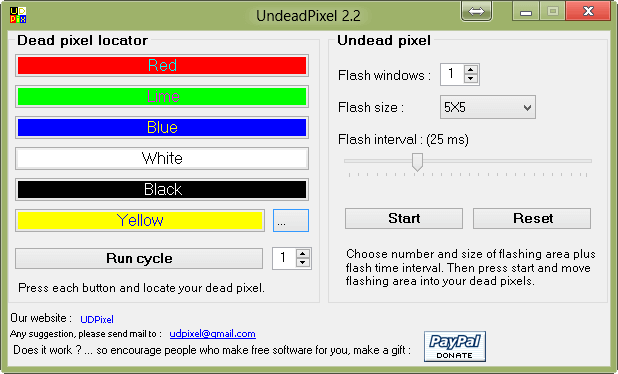
In the Flash Windows field, it is possible to select the number of mustard plasters equal to the number dead pixels. For example, take 5 and click Start.
5 flashing dots will appear at the top left of the screen
Each point is required we need to move it under the dead pixel for 10 minutes. If it doesn't help O bet on 20, 30 or more.
The beauty is that you can choose the size of the "yellow card" 1 X 1 pixel or 5 X 5 pixels. Thanks to this, you can not distract from work when treating the monitor. Unless of course it annoys you.
In order to stop treatment, you must press "Reset"
UDPixel also allows you to conveniently test your monitor by clicking on the appropriate colors in the main program window. Moreover, it is possible to select any color by clicking on ... to the right of the yellow color
The function to run in the "Run cycle" cycle with an indication of the number of cycles will help to carry out monitor maintenance 2 times a month.
If software tools do not help, it is necessary to move on to physical or "manual" methods.
We restore a dead pixel in a “manual” way
Software methods are completely safe, unlike "physical" ones.
We take an ear stick or a pencil with a grater on the back end, or any other blunt soft object.
We find our "stuck" pixel and install the tool on it.
We make light pressure until the first “streaks” appear and release
We check. If it doesn’t help, add “Newtons” and repeat.
Then we move on to circular motions. We make the radius as small as possible. It is necessary to perform movements in both directions.
If it doesn't help. We make light pressure on the dead pixel and move the tool up a few pixels. We do the same in all 4 directions, then back to the center (broken pixel)
If it doesn’t help, then we take a not sharpened pencil and through a cloth napkin (so as not to scratch the surface), we repeat all the exercises.
If this did not give results, then it is necessary to combine the software and "physical" methods.
Conclusion
In this article, we got acquainted with an already rare defect - defective pixels. We figured out why it can be difficult to hand over a monitor under warranty.
We got acquainted with software (Bad Crystal and UDPixel) and "manual" methods of treatment.
In Ukraine, there is a law "on the protection of consumer rights" (something similar should be in Russia and other countries), on the basis of which you can return the goods within 14 days. Naturally, if the latter has retained its presentation.
Therefore, the main and most reliable means of dealing with dead pixels is to check the monitor immediately after purchase and return it if necessary.
Since dead pixels often occur when the monitor is working, it makes sense to take the product from the showcase where it has worked for some time.