Create and send a screenshot to a friend: step by step instructions
There are a lot of ways to take a screenshot, but I will consider only 2 of the most popular ones. The first is manual and the second is automatic. In each case, it will take no more than 1-2 minutes of time, and you will see for yourself now.
Creating and uploading a screenshot to photo hosting
So, the first way is the classic one. Its plus is that you don’t need to install anything additionally, because everything is done with standard tools.
To take a screenshot on a laptop, press the Fn + Alt + Prt Scr keys.
There is no Fn button on computers, so just click Alt + Prt Scr there.
The system will take a screenshot and save it to the clipboard (in its "memory", so to speak). Next, go to Start - All Programs - Accessories, open Paint and press Ctrl + V (or right-click - Paste). You will immediately see the screenshot taken earlier. If necessary, it can be processed: crop, draw arrows, write text. Then save the file in whatever format you want.
In principle, you can use any other graphic editor (the same Photoshop), but Paint is available by default on any Windows system.
So, the screenshot is ready and saved on the computer. Next, you can submit it:
- by email;
- in Vkontakte;
- link.
In the first two cases, it is enough just to attach the file, indicating where it is located. If you want to send a screenshot, for example, to Skype or ICQ, then the latter option is better.
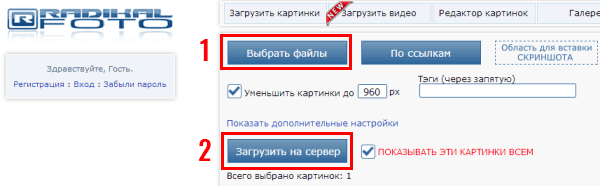
- Go to www.radikal.ru.
- Click on the "Select Files" button and specify the path to the image you want to send.
- Click Upload to Server.
Sending screenshots via Lightshot
If you do not want to manually take screenshots, you can use a special program or extension in your browser. Yes, they need to be installed, but you can transfer images in just 5-10 seconds.
For example, for this purpose, you can connect the Lightshot add-on in your browser. Using it is extremely simple:
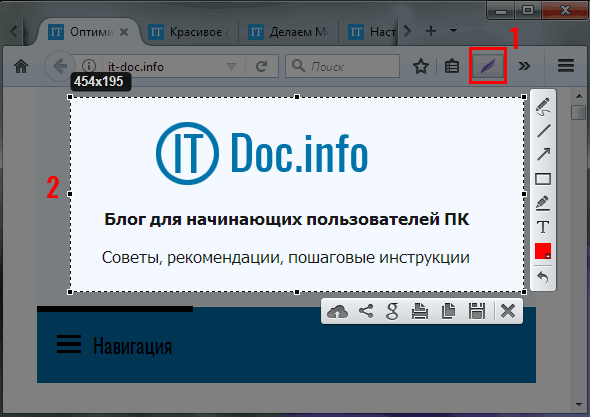
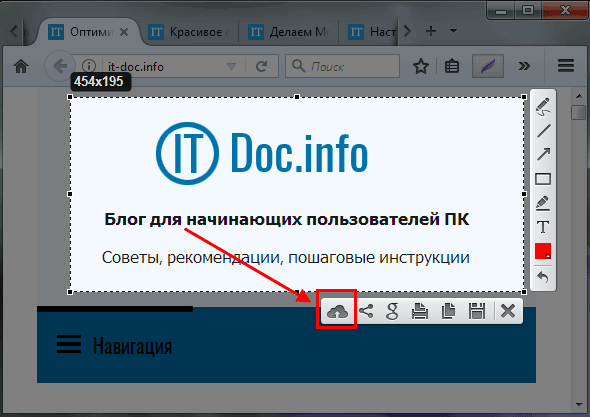
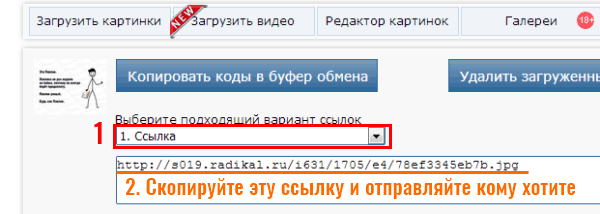
The picture will immediately be uploaded to the server, and you will see a link to it. Copy it and you can send it anywhere - to VK, chat, forums, etc.

To preview the screenshot, click the "Open" button. A new tab will appear where you will see the final result.
As you can see, this method is much simpler and more convenient. It is recommended to use it. By the way, instead of Lightshot, you can use any other program or browser extension. Fortunately, there are plenty of options - Joxi, Clip2Net, Awesome Screenshot, etc.
That's all. Now you know how to take a screenshot and send it to a friend. As you can see, it's easy. At home, it is recommended to use the second option, and on someone else's computer (at work or at a party), you can do it in the classic way.