How to Convert VHD to VHDX Via GUI and Powershell
Windows Server 2012 Hyper-V introduces support for a new virtual disk format, VHDX. Virtual disks in VHDX format have many benefits, including a larger maximum disk size of 64 TB, data corruption protection, and more. You can convert current VHD disks to the new VHDX format using the Hyper-V Manager console. The process will create a new VHDX disk and copy the data from the old disk to the new one. At the end of the procedure, you will have 2 disks - in the old format and in the new one. Once the new drive has been successfully verified, you can manually remove the old one.
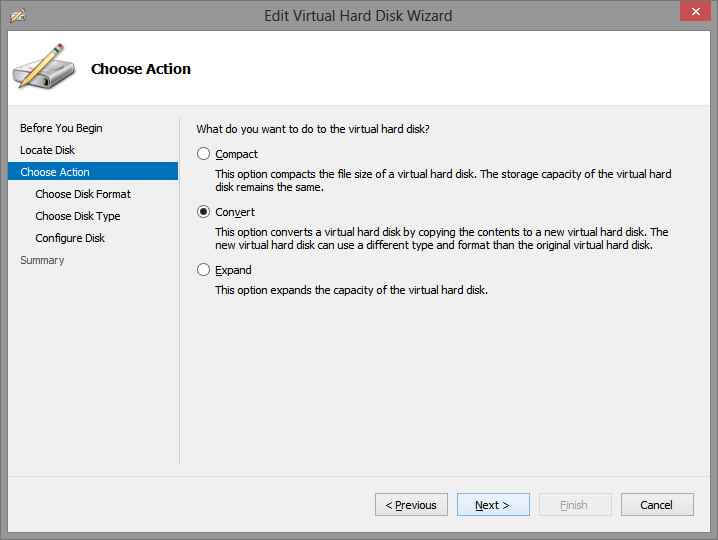
The Edit Virtual Hard Disk Wizard starts. Select the Convert action and click Next
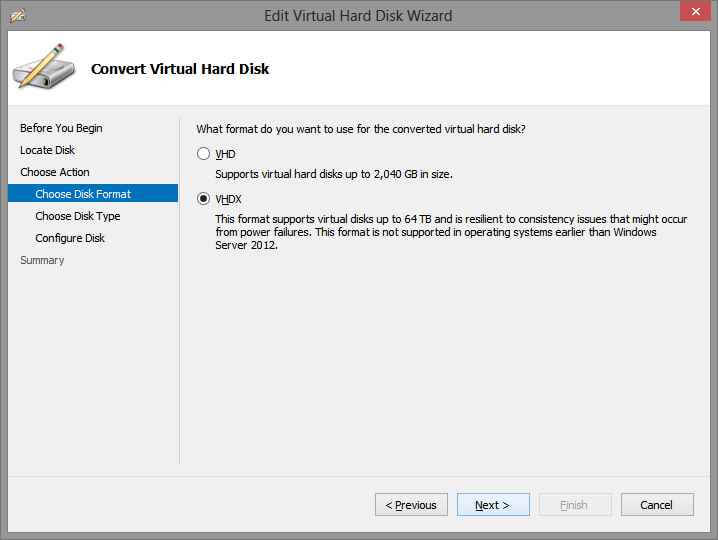
Select VHDX format and click Next.
You can choose whether the disk should be a fixed size or if its size can change dynamically. This access option is independent of what type the disk was previously. Click Next.
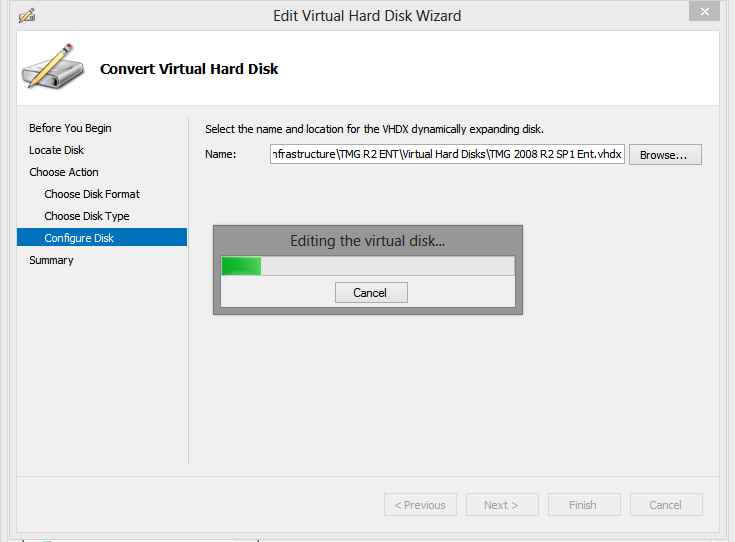
Choose a name and location for the new VHDX disk and click Next.
Check all settings and click Finish to create a new drive. The time to create depends on the size of the source disk and the speed of your hard disk. On my SSD, a 300GB VHD took about 2 minutes to convert.
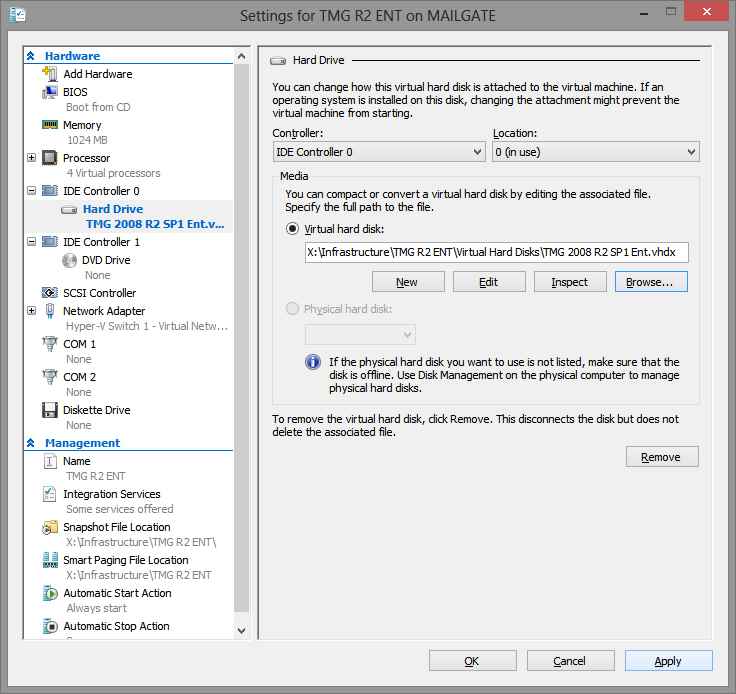
The final step is to connect the new disk to the virtual machine.
After loading the virtual machine, you need to check that everything is in order. If so, then you can safely remove the old disk.
You can also use PowerShell to convert. In this case, the action is an order of magnitude less????
Convert-VHD -Path \\win2012-dc01\vms\old.vhd -DestinationPath \\win2012-dc01\vms\new.vhdx -DeleteSource -Compu