Nero 7: All-In-One Media Suite
Introduction
Nero's unique suite of applications, previously only used for CDs and DVDs, is one version older. At the same time, he not only did not lose his undeniable advantages, such as speed, abundance of opportunities and versatility, but also expanded to the "center of the multimedia universe." As the description says, "create, edit and enjoy."
Starting with the 6th version, the package has been steadily expanding, and now it includes, in addition to applications for working with disks, programs for editing music and video, viewing them, as well as several utility utilities.
All actions most often performed using the package can be divided into the following:
- writing files;
- copying and editing video;
- work with sound (processing and mixing);
- viewing and structuring multimedia files;
- maintenance of the necessary equipment.
Nero 7: burning discs
If you want to burn a file, audio or video to a CD or DVD, you can do so using Nero Burning ROM.
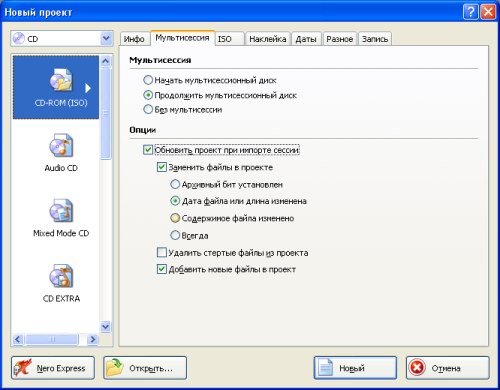
At startup, a dialog for creating a new project appears, where at the top you need to select the type of disc (CD or DVD), on the right - the type (data, music, video), and on the left change the necessary disc settings (presence of a multisession, file system, name) and recording parameters ( speed, finalize application, underrun protection).
After clicking the "New" button, the familiar "Explorer" panels will appear, where you can add files to the project by simple drag and drop. It is at this step that you can, for example, erase a rewritable disc or copy an entire existing one. In addition, for fans of the highest quality, there is the ability to search for information about files or music tracks in special databases. There is a commonly used option to connect a virus scanner, which can be enabled in the "File" -> "Options" menu. After completing adding files, select the "Record" button directly on the toolbar to start it.
When ample opportunities do not play a major role, you can use the lite version.
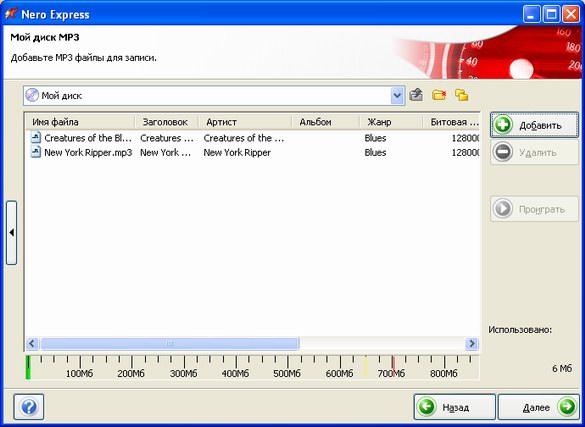
Nero Express combines the functionality of a full-fledged application with the convenience of a step-by-step interface. In general, all the main aspects of use remain the same.
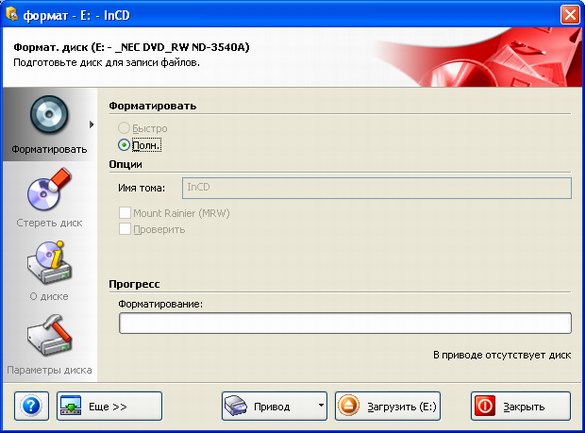
But even such a step-by-step interface can be improved. With the help of Nero InCD, it will be possible to work with disks as with rewritable media, such as floppy disks, that is, save and delete files using standard means. After starting, a corresponding icon will appear in the tray, allowing you to quickly work with disks.
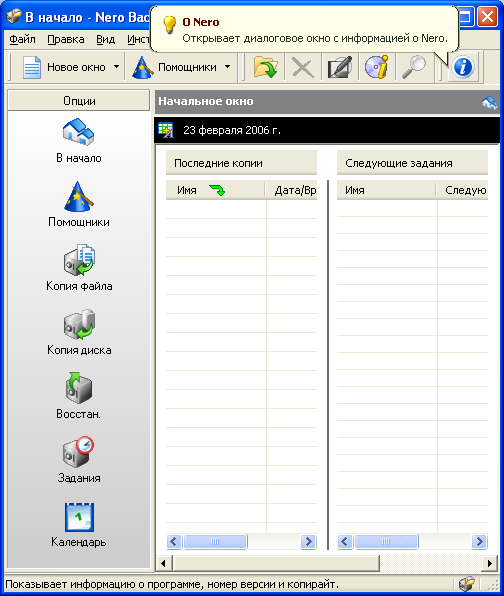
Sometimes you need not just a record, but a backup of important information. Then you can use Nero BackItUp to replace routine actions. Here you can save both the entire disk and a specific file. In addition, there are masters and planners.
After recording, the question usually arises about the identification of each "blank". For users who do not want to get confused about their discs, Nero Cover Designer has been created, which allows you to create a cover in a few simple steps, print the front side (only with a special printer), and in the latest versions, artistically paint the working part using technology LightScribe.
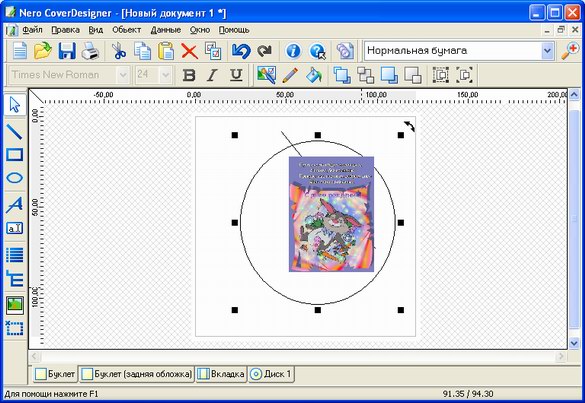
Recall that this technology allows you to create drawings directly on the working surface of the disk, but requires a special compatible drive. To do this, you need to select the desired type, and in accordance with it, several pages will be created, for example, inserts in front and behind, as well as a view of the disc itself. The convenience lies in the fact that properties can be changed in groups - in the "Object" menu, the last five items are responsible for this. In general, the interface differs little from Paint - we choose what we want to add (a shape, text or picture), and paste it into the document. At the end, the work can be saved or printed immediately. If you want to take advantage of the capabilities of your LightScribe drive, then from the "File" menu you need to select "LightScribe Preview" to check what will be created, and "Print LightScribe Label" directly for recording.
Nero 7: Video editing and editing
To create your own videos or edit existing ones, use the Nero Vision application.
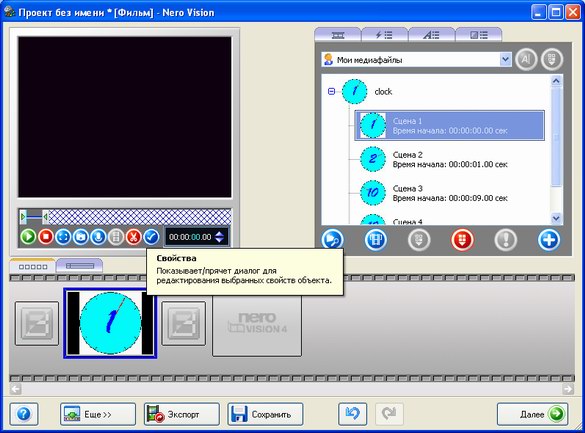
If you want to edit your video, the first step is to press the "Create Movie" button, which opens an interactive Wizard that accompanies us at all stages. The first step opens the content control, which should contain everything you plan to see next. To do this, in the upper right part - the so-called. "Type of assets" - using the "Search media" button or using ready-made catalogs, add your videos. Next, we divide them into scenes using the corresponding button and add the necessary one by dragging it to the lower, main, part of the window. Here you need to switch to the "Timeline" tab. There, in five lines, in chronological order, everything that will be included in the film is depicted. By the way, all your scenes have been dragged into the "Video track" line of this table. The remaining lines show text and other effects and two audio tracks. To add text, you need to use the "Assets windows" tab of the same name, having previously clicked on the desired location in the "Timeline" window. A window will open with the necessary settings, such as color, duration, and, in fact, the text itself. Another tab of the same window - "Show Movements" - adds to the spectacle of the appearance of the scenes. To do this, select the desired fragment and click on the appropriate effect. You can also add an effect to the video track itself - the last remaining tab in the assets window does just that. During the work, each resulting part can be viewed in the third part of the window - a mini-media player. To do this, select an effect or video clip and click "Play".
When the project is complete, click "Next". Options will again be displayed: return to editing ("Continue editing"), save as a video file ("Export movie"), burn to media and save the project in a form available for further editing.
In the case when you need to burn a collection of already finished films, select "DVD-Video" in the initial menu. Next, you should add content: capture video, copy from a file or from an already prepared disk. There are also options for creating new media content and editing existing ones. After everything you need is collected, we get to the "Edit menu" step. First, select the type ("Menu of titles and sections", "Only menu of titles" and "Without creating a menu"). We designate our choice with a double click and get into the "Properties". There is a direct setting. After setting the necessary parameters, click "Next" and continue working. By the way, there are several already prepared templates that can be used by selecting them from the corresponding menu. At the next step after the menu, you can start testing by studying the behavior of the disk when you press the buttons on the virtual remote control. When everything is tested, you can start burning. In the menu that appears when you move the mouse pointer, you can change the recording settings. But it is not necessary to save immediately to CD \ DVD discs, you can first save, for example, to the HDD, for further editing or subsequent recording.
Nero 7: Recoding Movies to DVD
Often you just need to copy an existing movie to DVD - rewrite it to a "blank" or compress the contents for burning to a single-layer DVD or CD. Then Nero Recode comes to the rescue.
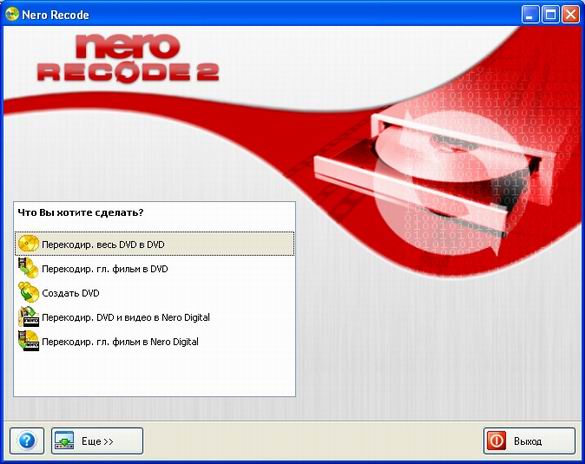
Here you can choose either to capture movies from DVD and burn them with the preservation of both high-quality original format and loss of quality when encoding to MPEG4, or create a new DVD. It can be seen that the first and second, as well as the fourth and fifth points are very similar to each other - the only difference is that when you select the item that begins with the words "Recode the main movie", the program will automatically select excerpts containing the movie itself, and not the intro of the famous film companies. But in all five points, the second step will be the choice of those titles, audio tracks, files and subtitles that will be contained in the future DVD.
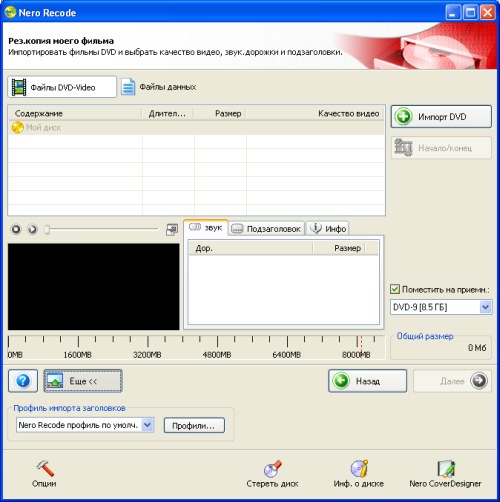
The third step is to write the project to a hard disk or other media. Upon completion of these operations, you will be offered a list of possible further actions, among which there is a transition to creating a new project and opening new applications.
Nero 7: Sound Processing
The whole process of creating your own disc can be divided into two stages: the capture of source materials and the creative part itself.
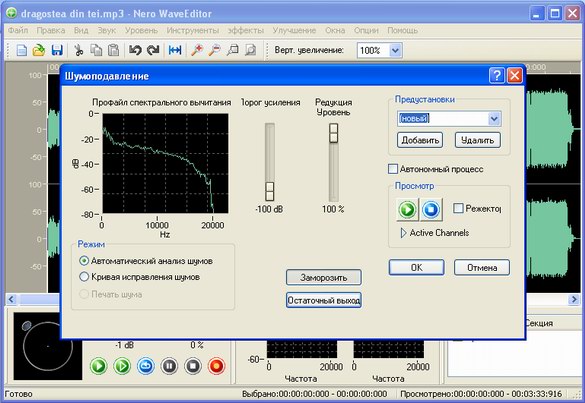
Nero WaveEditor will help you in the first step. Here are collected the necessary tools for semi-professional music processing. To begin with, in the menu "File" -\u003e "Open" select the desired sound file. A huge number of sound formats are supported, so this should not be a problem. After that, a curve with a timer appears in the center of the window for more convenient orientation, and below - a media player panel for playing unfinished "masterpieces" and a window for viewing and editing the changes made. Next, in the appropriate menus, you will need to select the desired filter or tool, in the window that appears, change its settings to the required ones and apply it by clicking "OK". It should be noted separately that almost all parameters are changed using symbolic controls or using curves on the graphs, which is quite convenient. For example, in order to remove noise, select a section directly on the diagram, and then select "Noise Removal" in the "Improve" menu. You can select a profile, for example, to remove clicks from LP recordings. After making the necessary modifications, the file can be saved, by the way, in any, and not just the original, format.
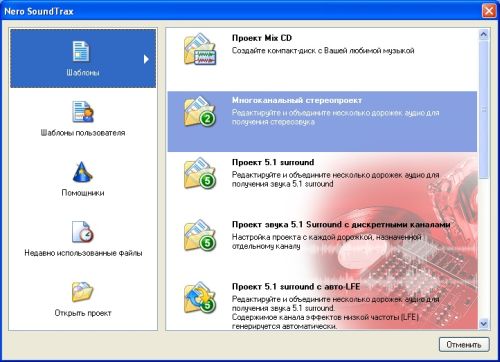
When all the "sources" are collected, you can start creating mixes and burning to disks and media. Nero SoundTrax will help here. When you open the program, a specific dialog for creating a new project appears. There are 5 main groups, including: "Templates" - possible basic actions, including those created by the user; "Helpers" - Wizards for a known sequence of actions, for example, to transfer music from audio cassettes to a computer; and "Projects" and "Recent Files" to access After selecting one or another item, if it is not a Master, the corresponding number of audio temporary tracks will immediately appear.
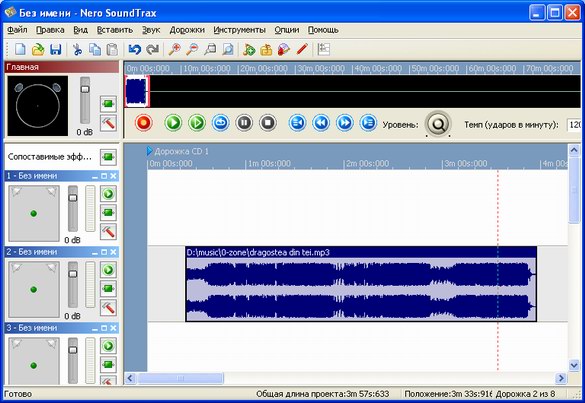
On the right, each will show what is currently on it, and on the left, some of its settings, such as "Panorama", playback, as well as "Editing the chain of effects". You can add new tracks through sound files, direct recording or using the built-in "SoundBox" sound library - a convenient tool for editing or creating thematic inserts. You can change the order of track sections using Drag&Drop. By right-clicking, you can bring up a menu where you can add music files, go to properties and options, or select mix options for this area. There are available both the possibility of a sharp transition, and several options for a gradual transition. If the click was made on the location of the track, it will be possible to select "Edit audio file in WaveEditor". When finished, you can save the project, or switch to other applications.
Nero 7: Media Viewer
Nero 7 allows you to turn your computer into a true media center. It is on these features that the stake is placed in the new package, so they are unusually well developed.
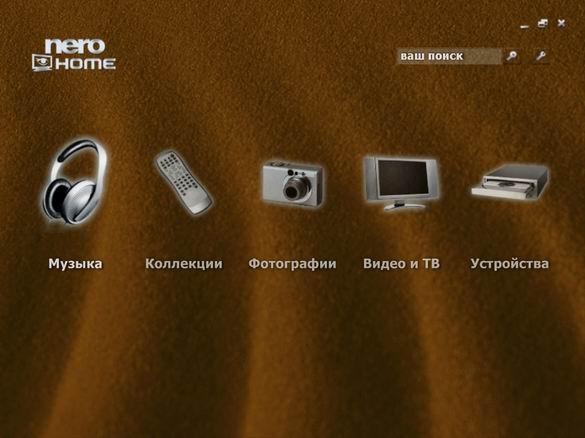
All basic cataloging and browsing functions are collected in Nero Home. He is your main adviser and guide in the digital world. The new "face" of the whole package turned out to be lovely. Unlike the rather strict StartSmart, there is both interactivity and a visual interface. The "orbital" menu offers (by the way, in Russian - as in all other applications) the items "Music", "Collections", "Photos", "Video and TV" and "Devices". All of them perform similar functions: when you double-click, a set of content locations of the corresponding content opens, and you just select the one you need and immediately play it. For example, if you go to photos, you will be able to view pictures from all collections and the "My Documents" folder.
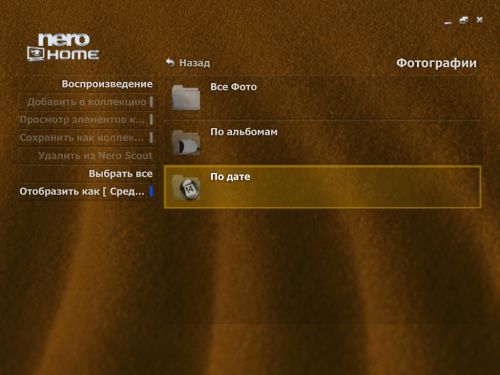
Also, any of them can be added to the appropriate group or, conversely, removed. In addition to the usual review, you can make a presentation consisting of all the files in a given group.
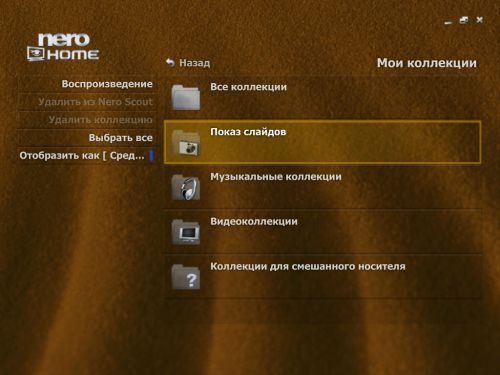
The only exceptions to the general rule are "Collections", where you directly manage your collections, and "Devices", which allow you to work with files of any type from anywhere on your computer.
But, as you can see, the abundance of opportunities is achieved by combining the functionality of external programs, including such as Nero Scout and Nero ShowTime.
In the case of specific types of files, specialized applications will help achieve maximum comfort. When you want to enjoy high-quality video viewing, Nero ShowTime will become such a "special".
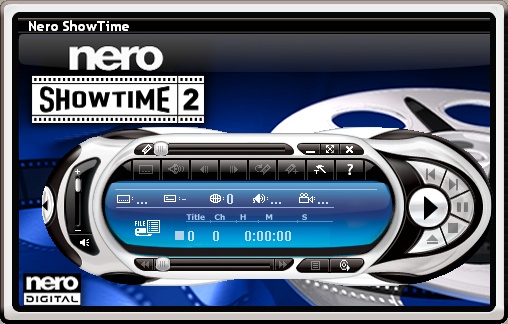
Its functionality is similar to DVD players: it also plays movies, but, in addition, also music and, if desired, pictures. But the main goal remains the same - getting high quality, for which there are a lot of different settings, including for full adjustment of both video and sound. In particular, for the first one, you can set up deinterlisting and manually set the color balance, and for the second - the number of columns and the corresponding "improving" technologies. All this becomes available by right-clicking -> "Configuration". In the same place, you can adjust the appointment of specific users of the program to restrict access to settings. The file to play is selected, as in similar programs - click on the small button "Select source", and there - find the desired disk \ file \ folder. Playback control - using the usual "Play", "Stop", "Pause", and "hot" keys.
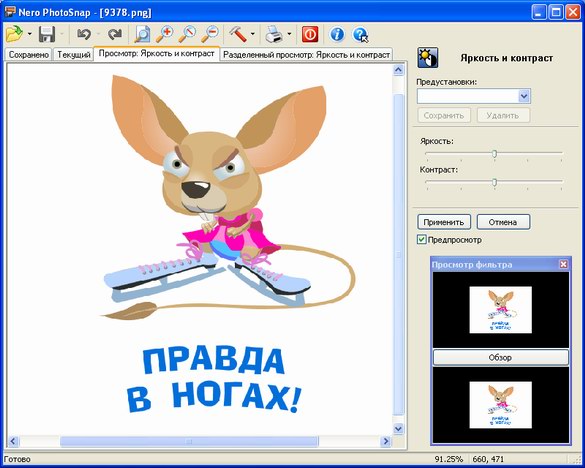
The standard photo viewing and editing applications in Nero 7 have some competition. Nero PhotoSnap is responsible for image processing, and the emphasis is on home photos. There are a number of tools available to change them, and work can be started immediately, without prior preparation. First, click on the "Open" button and select the desired image (there, by the way, you can use the Nero Scout search databases on a special tab), use the necessary filters, and click "Apply" each time to confirm. If necessary, cancel the changes and save the masterpiece with the buttons of the same name. Now about the tools. Of the necessary for the average owner, there are "Red Eye Removal", "Noise" and "JPEG Artifact Compensator". In addition to these rather specialized ones, there are the necessary "Rotate", "Resize" and "Crop" everywhere. For any solemn and highly artistic actions, you may need "Distortion by the lens", "Aging" and the "Vignette" mode. And this list is far from complete: despite their apparent simplicity, filters have proven their worth not only as a replacement for Paint, but also as a homely simple alternative to Photoshop. In addition, the functionality can be extended using plugins. They should be applied in the "Settings" -> "Plugins" menu. All add-ons for this program are divided into 2 types: supporting new file types and containing new tools. It's funny, but all the original features are the work of 4 add-ons included by default.
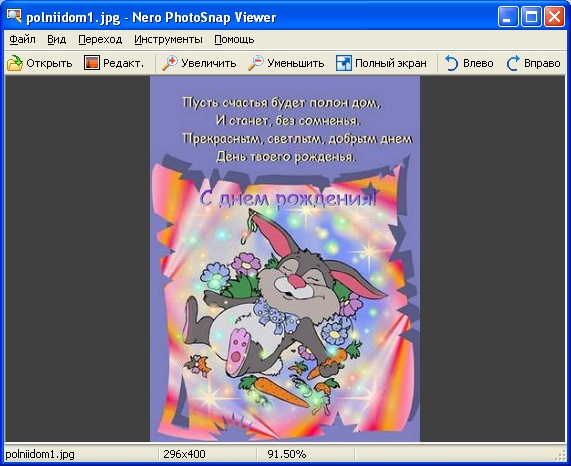
When you need to limit yourself to just viewing, Nero PhotoSnap Viewer takes over. This is the same PhotoSnap without filters and with the ability to quickly scroll through images. Clicking on the "Edit" button opens the already reviewed application.
An important part of working with interactive material is its ordering. When you want to create a list of all your photos on different discs, put together a playlist of your favorite songs, you can't do without Nero Scout.
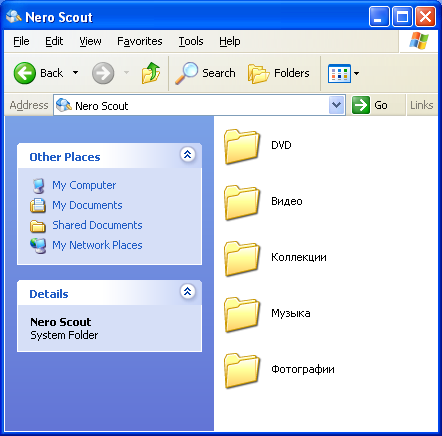
This program is the true face of all the catalogs that have become an integral part of most of the package's products. It creates a virtual system folder where a list of all groups can be conveniently explored and edited. In addition, specific options related to the configuration of playlists appear in the context menu. Here they can be edited and their contents can be viewed through external programs. With the help of virtual folders, you can conveniently sort all the multimedia information on your computer.
Often the question arises of exchanging the necessary files with friends and acquaintances. Many people use file-sharing networks for this, but in order, for example, for a friend to be able to download a couple of films from you, this is not necessary - just use Nero MediaHome.
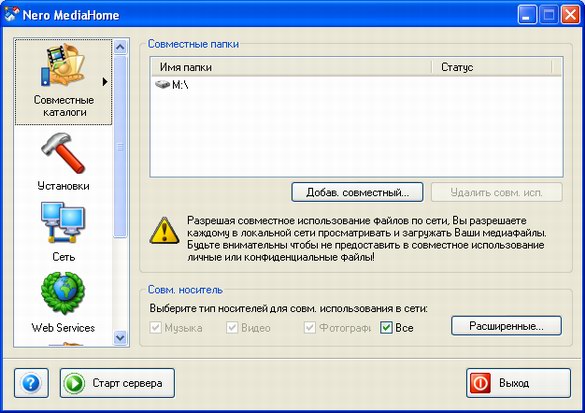
You will be able to share your pictures, movies and music with the entire local network and even with the Internet. To do this, start the program from the "Start" menu, specify in the "Shared Directories" menu which folders you want to make public, and click "Start Server". In addition, with a running firewall, you must either disable stealth mode and allow access for MediaHome, or allow full access to the local network. That's it, now on the "Status" tab you can see who, what and from where you are downloading. In addition, there are options such as "Autostart and tray settings". If you want your server to run all the time, check the boxes "Start MediaHome on startup" and "Start media server on opening". For advanced users, there is the possibility of specific server settings, including port and network name.
Nero 7: Service Utilities
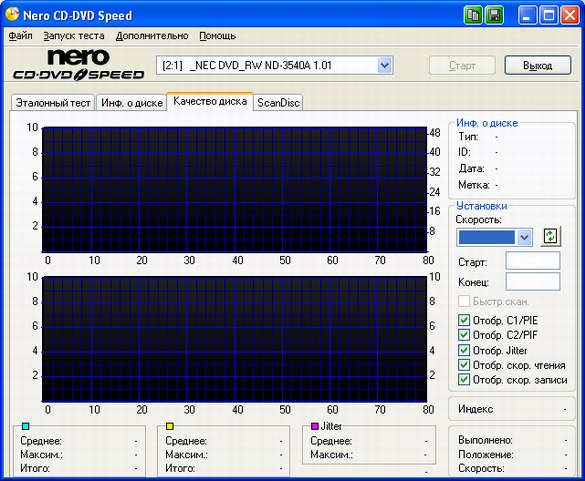
Are you wondering whose drive is faster: yours or your neighbor's? Do you need to evaluate the quality of the recording on a particular "blank"? Or maybe you just want to know if it's time for an upgrade? Nero CD-DVD Speed will answer these questions - an indispensable tool for checking the status of both a specific disc and a drive. Shows several parameters at once, including maps of bad sectors and maximum and average read speeds.
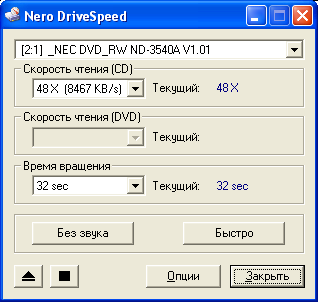
Many people know that moderate use of high-speed modes can help keep your "cutter" alive. In addition, this reduces the noise level, but, unfortunately, performance drops. Nero DriveSpeed is the smart combination of speed, drive uptime and noise.
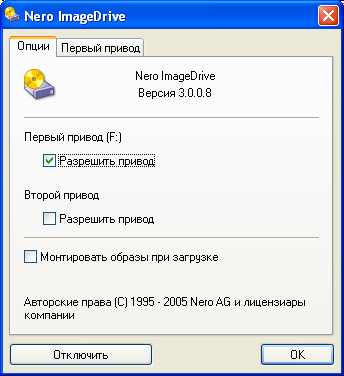
Some users are used to, in the absence of empty disks, making images and using them directly from the hard drive. Nero ImageDrive is a program for creating virtual CDs and DVDs. After launch, virtual devices are created for which you can specify image files. Of course, copy-protected programs and games cannot be launched from the image.
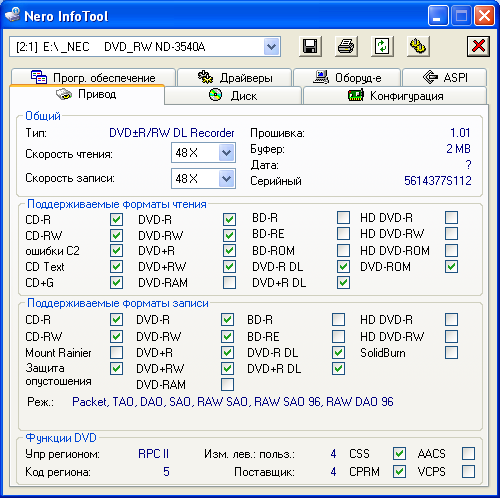
Often, despite care and concern, failures and strange sounds begin to appear in the operation of the drive. Nero InfoTool will be able to collect detailed information about the disk, drive, drivers and the computer as a whole. It will also give you the firmware version of the drive.
Nero 7 Conclusion
The new version of the Nero 7 package from Nero AG continued its movement towards creating a comprehensive set of programs for working with multimedia information. The Nero Home shell will allow you to turn your computer into a media center without resorting to specialized operating systems or other software packages. Yes, and the Nero Showtime 2 player pleases with wide format support. So for novice users, the Nero 7 package is quite an all-in-one tidbit. All its functions, and this is the creation, saving and viewing of multimedia information, the package performs excellently. Finally, we note the support of the Russian language.
On the other hand, if you don't need these features, some annoyingness of Nero 7 catches your eye: the default installation is not recommended, since the package will bind many video and audio formats, as well as photo files.
The editors thank the company CPS, the only official distributor of Nero AG in Russia, for providing the program.
The program was tested on the AMD platform. The editors would like to thank the Russian representative office of AMD for the provided platform.