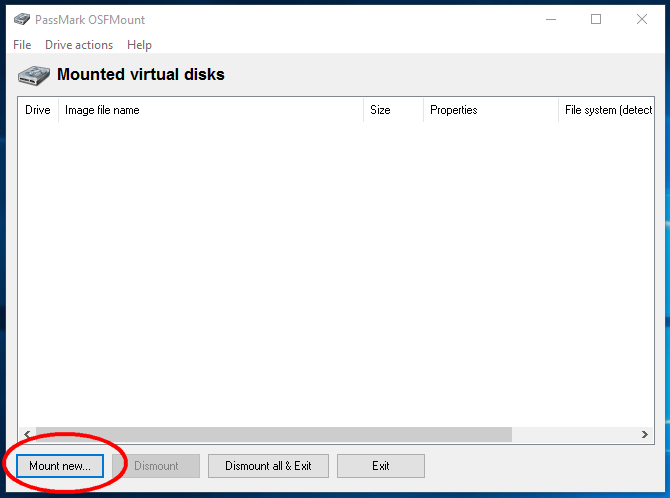
OSFMount - a program for mounting images and creating virtual flash drives

There is a small group of programs that, for their work, most often for saving data, require the obligatory connection of external media to the computer. It can be accounting or some other special applications. A similar need may also arise when working with virtualization systems to which you need to connect physical flash drives. But what if there was no flash drive at hand, but you still need to do the work in the program?
In such a situation, a small free program called . It is intended mainly for mounting ready-made disk images, but can also be used to create RAM disks, that is, those that exist only in the computer's RAM. In this case, the user can specify the type of virtual device, assign it a letter, and also set the necessary attributes.
The program is very simple and convenient to use, except perhaps without the support of the Russian language. To add a carrier, click the button "Mount new" and in the window that opens, configure the mount options.
Option source allows you to select the image source. I can be screwed (image file) or uploaded to RAM (Image file in RAM) image file, as well as an empty disk from RAM (Empty RAM drive). If you need a virtual flash drive, specify the path to ISO or another supported image format.
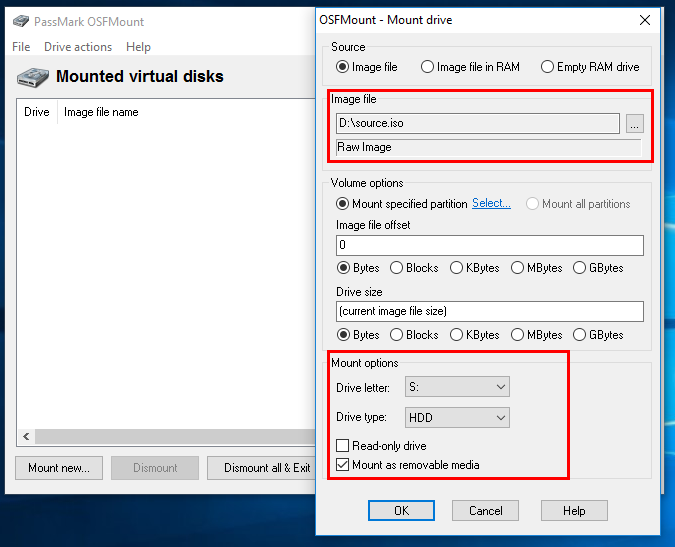
Settings "Volume Options" you can leave it by default, and they don’t matter for flash drive virtualization, they may be needed only when loading an image into memory and creating a disk from memory. Much more interesting are the settings Mount Options.
Option drive letter sets the drive letter.
drive type- image type.
There are four types:
- Auto (the program chooses the type itself)
- Floppy (Floppy Disk)
- CD/DVD (optical disc)
- HDD (flash drive or removable hard drive).
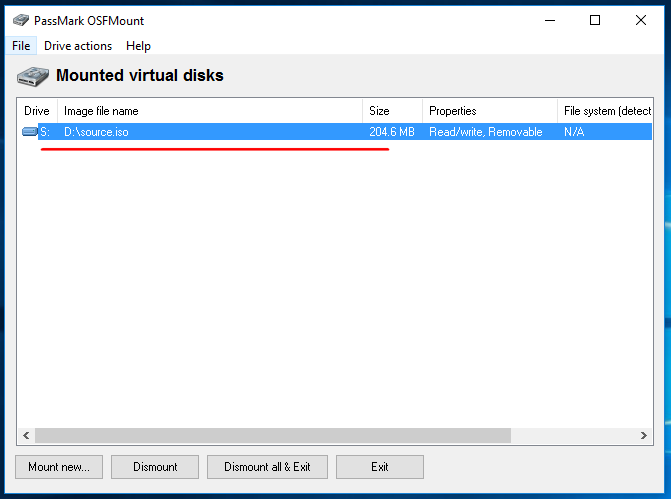
There will also be two checkboxes at the bottom of the window. Read-only drive and Mount as removable media. If you are going to write to a virtual disk, the first checkbox must be unchecked. The second, on the contrary, must be installed so that the system does not recognize the catch and identifies the mounted image as a USB flash drive. After setting these settings, click "OK". That's all, now you can work with the image as with a normal removable media.
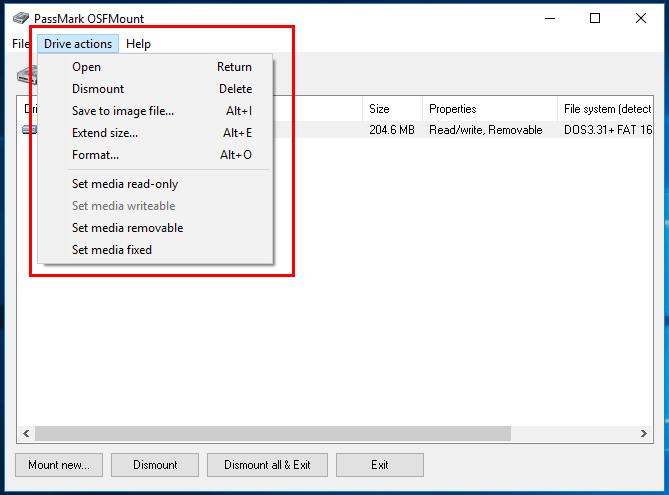
Options that you may need when working with a virtual flash drive are in the menu Drive actions.
Commands available:
- open (open)
- Dismount (unmount)
- Save to image file (save as a new image in the desired format)
- Extend size (expand)
- Format (format)
Additional options include Set media read-only(prohibit recording) and Set media writable (recording resolution).
What images can be used to virtualize flash drives? In principle, any, even bootable, only in this case OSFMount may ask you to insert a disk into the device, and in order to make such a virtual flash drive available, you will first have to format it. In this case, the original image will most likely be damaged and it will be possible to open it only in OSFMount.
You may be interested in:
How to create a CD/DVD disc image with Ashampoo Burning Studio Free How to use the Windows ISO Downloader utility without too much trouble to find and download any official distribution of Windows 7, 8.1 and 10 ESD Decrypte Utility - Convert ESD to Bootable Windows ISO Image Easily Windows and Office Genuine ISO Verifier - utility for authenticating Microsoft products